Finding the story in hangar light, open-ramp sunlight, polished surfaces and the engineering details hidden within the aircraft.
Aviation photography begins before the shutter is pressed. It begins when the photographer changes position, studies the engineering, follows the light and discovers the smaller story hidden within the aircraft.
010.1 • THE PHOTOGRAPHER’S EYE
PERSPECTIVE BEGINS WITH THE BODY
Lower the camera. Enter the aircraft’s world.
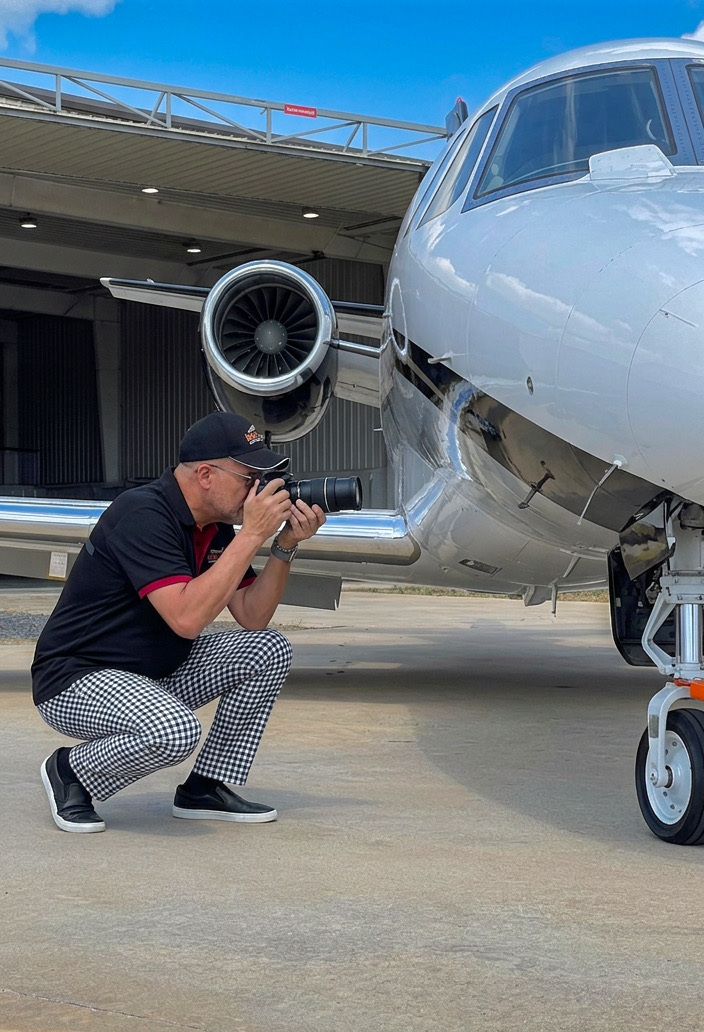
Mark LT Pro lowers his body and camera until the lens meets the mechanical subject on its own plane. The landing gear, engine, polished fuselage and photographer become one layered composition.
Perspective is controlled with the feet and body before it is controlled with the lens. Kneeling, shifting sideways or moving closer changes the relationship between every object in the frame.
010.2 • THE HANGAR AS A GIANT SOFTBOX
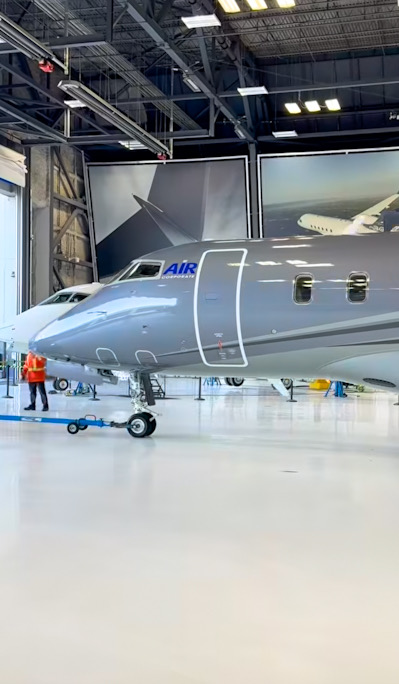
BROAD DIFFUSED ILLUMINATION
Soft light describes white without flattening it.
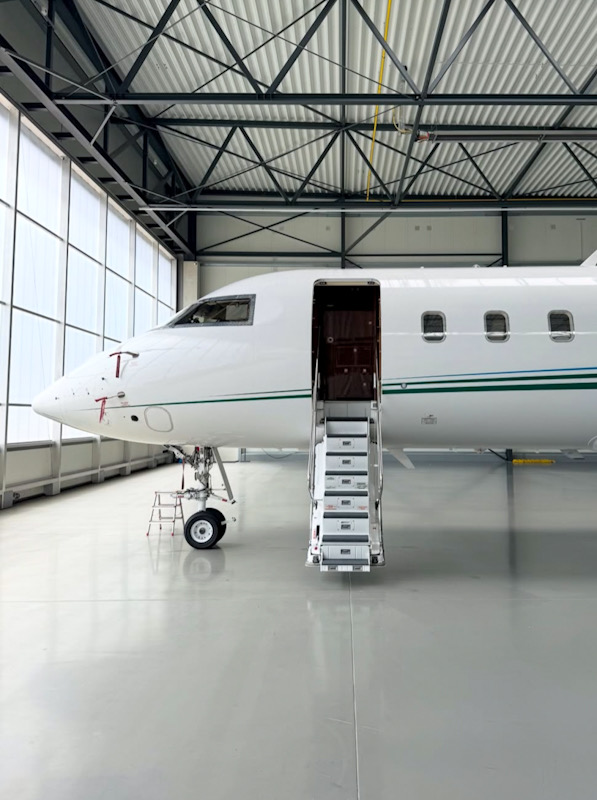
The translucent hangar wall behaves like an enormous soft source. Light wraps gently around the nose, the upper fuselage remains controlled and the transition into shadow is gradual.
Protect the brightest paint while allowing carefully placed shadow to preserve the aircraft’s form.
010.3 • HARD SUN ON THE FLIGHTLINE
DIRECTION AND METALLIC RESPONSE
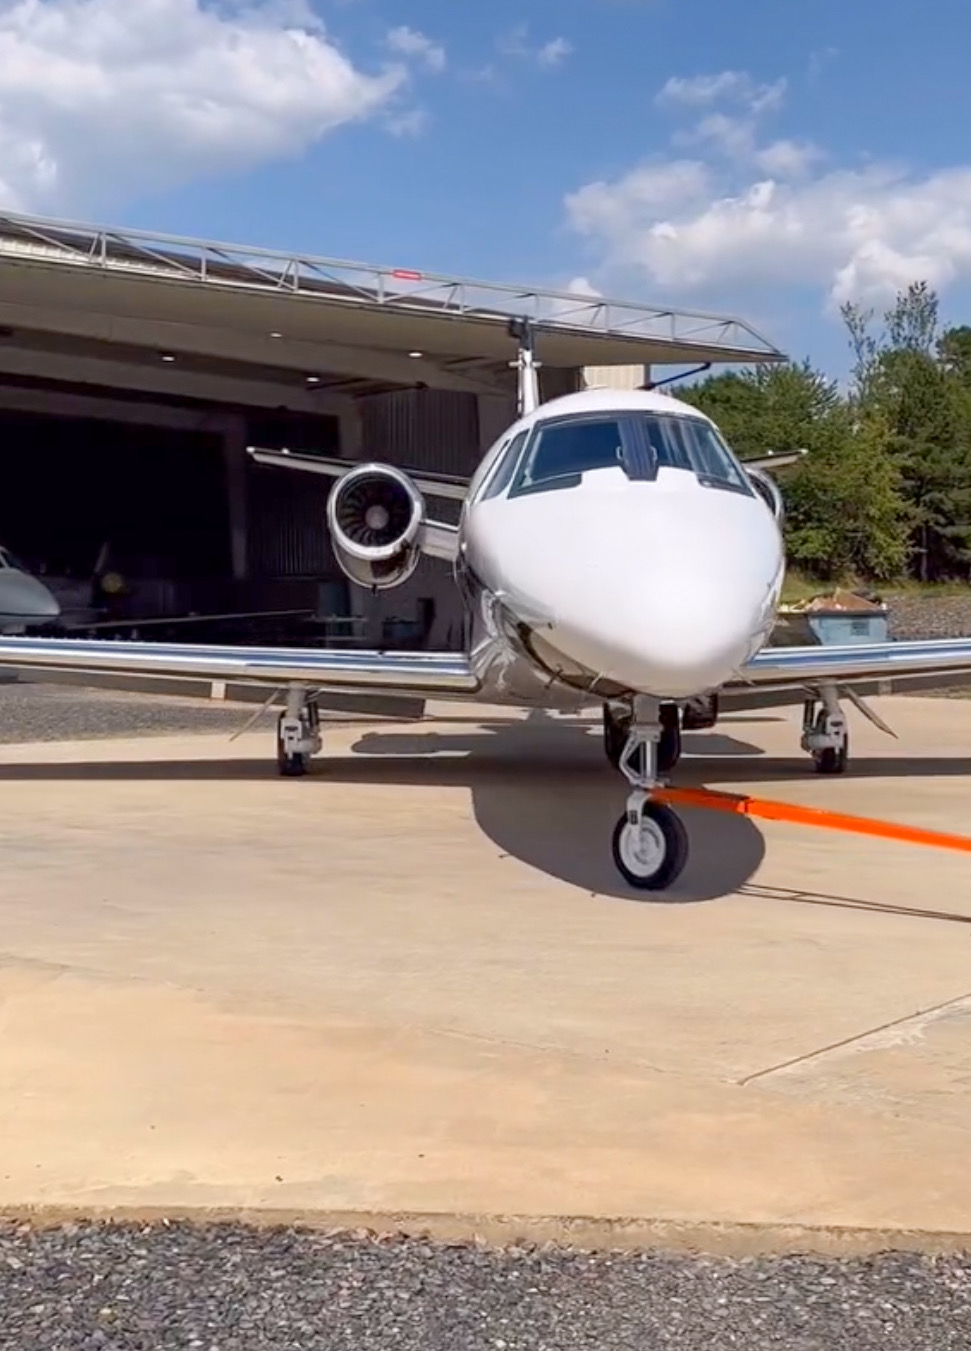
Hard light becomes structure.
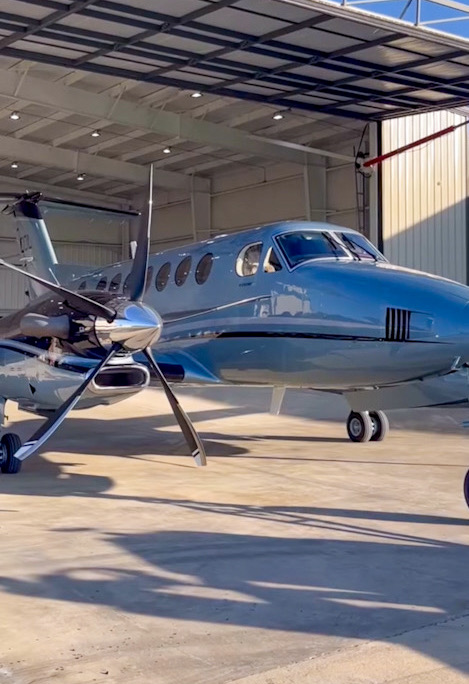
The propeller, nacelle, cockpit glass, metallic paint and pavement reflect direct sun differently. Crisp ground shadows reveal direction immediately, while the hangar roof creates a contrasting band of shade.
Trace the sharp propeller and landing-gear shadows.
Watch highlight lines travel across the curved nose.
Use the dark cockpit glass to balance the reflective fuselage.
010.4 • MIXED LIGHT INSIDE THE HANGAR
OVERHEAD FIXTURES + DAYLIGHT SPILL
Let the room feel real while keeping the aircraft honest.
Overhead fixtures, reflected floor light, doorway spill and illuminated displays do not strike the aircraft from the same direction or with the same color. Keep the gray surfaces believable while allowing the room to retain its working-hangar atmosphere.
010.5 • CURVED LIGHT AND MECHANICAL FORM
DETAIL WITH CONTEXT
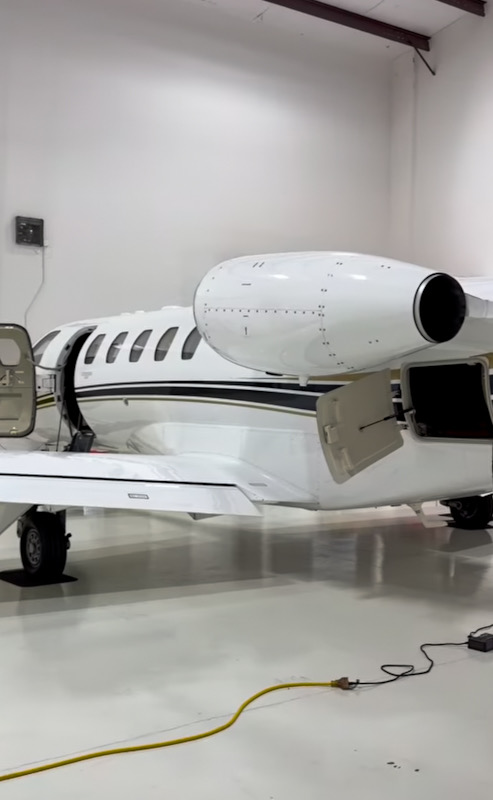
Engineering becomes visual language.
The rounded engine cowling carries a smooth highlight, the dark intake creates immediate contrast and the open service panels introduce depth and function.
Rivets, access panels, cables, wheels and engine surfaces become more than documentation when they are framed deliberately.
010.6 • THE FRONT-ON PORTRAIT
SYMMETRY AND AUTHORITY
Center the machine—and verify every edge.
The nose anchors the composition, the engines establish balance and the landing gear creates a vertical centerline. The natural shadow beneath the aircraft remains connected to the physical scene, the aircraft and the sun.
Before pressing the shutter, confirm that the camera is truly centered. Small left-or-right errors become obvious in a symmetrical portrait.
010.7 • PAINT, GRAPHICS AND REFLECTION
SURFACE RHYTHM
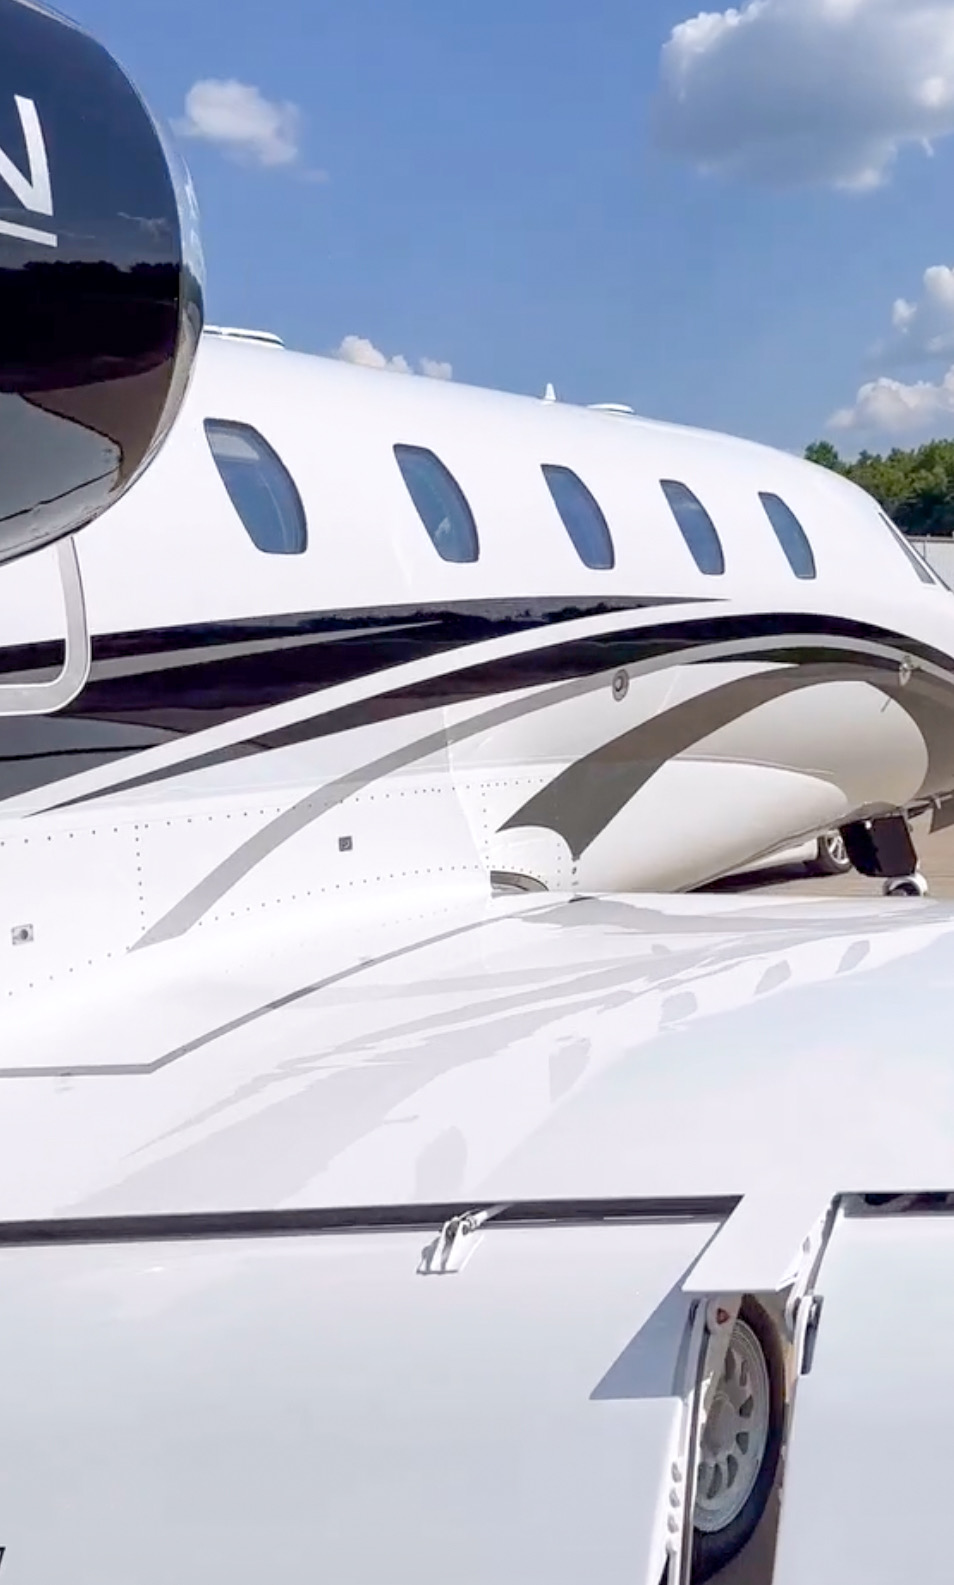
Follow the lines around the fuselage.
The sweeping graphics act as leading lines while the cabin windows establish a repeating rhythm. Move a few inches and the reflections change: a hotspot disappears, a contour strengthens or a cleaner line emerges.
This is an intentional surface study—not a substitute for the complete-aircraft portrait.
010.8 • AT THE THRESHOLD
NATURAL LIGHT + NATURAL REFLECTION
Let the environment create the drama.
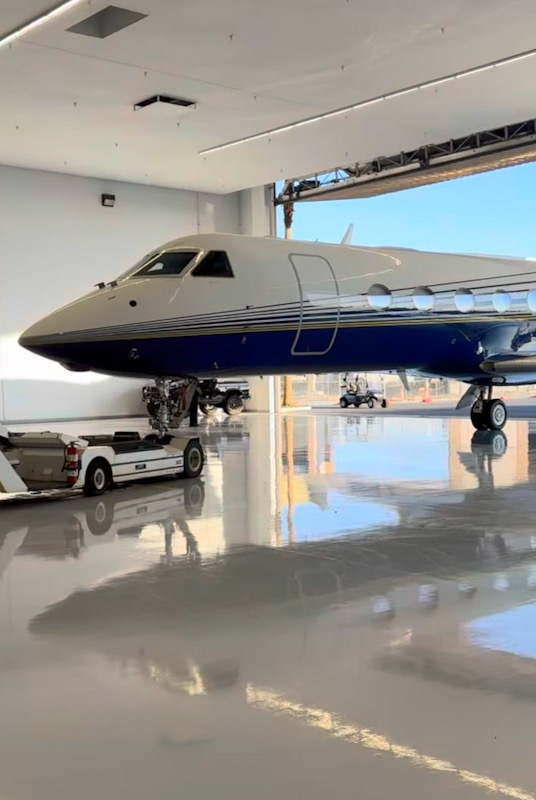
The hangar threshold joins controlled interior illumination with open daylight. The polished floor returns a genuine reflection, while the bright opening outlines the fuselage and the darker interior gives the nose visual weight.
This photograph replaces the former overhead runway image. Its depth comes from the real location—not an exaggerated artificial-looking shadow.
MARK LT PRO FIELD WORKFLOW
Build the aircraft story in three distances.
Begin wide
Create the complete-aircraft portrait first. Preserve the nose, tail, wings, engines and landing gear whenever access allows.
Use the environment
Show the hangar opening, ramp, reflections, equipment and available light to establish place.
Finish with details
Isolate landing gear, engines, propellers, doors, windows or graphics only when the detail adds a new layer.
RECOMMENDED STARTING POINTS • CANON EOS R7
Settings to begin the study.
These are suggested starting points—not verified EXIF data from the photographs.
BRIGHT RAMPf/5.6–f/8 • 1/640+ • ISO 100–400
HANGAR DOORWAYf/4–f/5.6 • 1/250+ • Auto ISO with limit
HANGAR INTERIORf/2.8–f/4 • 1/160+ • ISO 400–1600
GEAR DETAILf/4–f/5.6 • 1/250+ • focus on the primary mechanism
With the RF 24mm f/1.4 L VCM on the EOS R7, use the wider environmental view to place the aircraft within the hangar or ramp. Keep the camera level when architectural lines matter.
FIELD ASSIGNMENT • BUILD A SIX-FRAME AIRCRAFT STORY
Complete-aircraft establishing portrait
Environmental hangar or ramp frame
Low-angle photograph
Reflection or natural-shadow study
Mechanical-detail photograph
Closing image suggesting departure, preparation or quiet after flight
For every frame, record where the strongest light originated and what the shadow contributed to the composition.